Starting a worm farm might seem daunting, but it’s simpler than you think. Not only is it an eco-friendly way to manage organic waste, but it also produces nutrient-rich compost for your garden. This beginner’s guide will take you through everything you need to know to start your worm farm successfully.
Why Start a Worm Farm?
A worm farm, also known as vermicomposting, has numerous benefits:
- Reduces waste: Divert food scraps from landfills.
- Produces compost: Worm castings enrich soil with nutrients.
- Eco-friendly: Helps combat climate change by reducing methane emissions.
Whether you’re an avid gardener or simply want to reduce waste, a worm farm is a rewarding project.
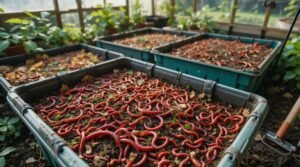
Step 1: Choose Your Worm Bin
Your worm bin can be purchased or homemade. Key factors to consider include:
- Size: Choose a bin based on the amount of waste you’ll compost.
- Material: Plastic bins are lightweight and affordable, while wooden bins offer better ventilation.
- Drainage: Ensure your bin has holes for excess liquid to drain.
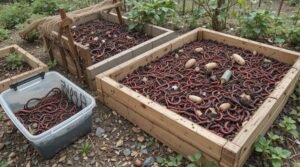
DIY Option
If you want to make your own bin:
- Use a plastic container with a lid.
- Drill small holes in the lid and sides for ventilation.
- Add a spout or small holes at the bottom for drainage.
Step 2: Select the Right Worms
Not all worms are suitable for composting. The best options include:
- Red Wigglers (Eisenia fetida): Highly efficient composters.
- European Nightcrawlers (Eisenia hortensis): Great for larger setups.
Avoid using regular garden earthworms, as they are not well-suited for confined environments.
Step 3: Prepare the Bedding
Bedding provides a comfortable environment for your worms. It should be moist, fluffy, and made of materials like:
- Shredded newspaper or cardboard
- Coconut coir
- A handful of soil to introduce beneficial microorganisms
Soak the bedding in water and wring it out until it feels like a damp sponge.
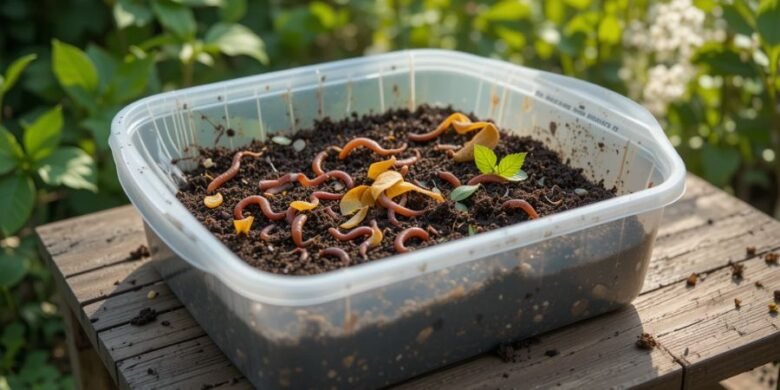
Step 4: Add Your Worms
Gently place your worms on top of the prepared bedding. They will burrow down to escape the light, so give them a few hours to settle in.
Step 5: Feed Your Worms
Worms thrive on a balanced diet of organic waste. Here’s what to include and avoid:
What to Feed:
- Fruit and vegetable scraps
- Coffee grounds and filters
- Crushed eggshells
- Tea bags (ensure they’re plastic-free)
What to Avoid:
- Meat, dairy, and oily foods
- Citrus fruits in large quantities
- Onions and garlic
- Processed foods
Feed your worms small amounts initially, gradually increasing as they adapt.
Step 6: Maintain the Right Conditions
Worms are sensitive to their environment. Maintain optimal conditions to keep them happy:
- Temperature: 55-77°F (13-25°C) is ideal.
- Moisture: Bedding should remain damp but not waterlogged.
- Ventilation: Ensure good airflow to prevent odor buildup.
Check on your worms weekly to monitor their progress and adjust as needed.
Step 7: Harvesting Worm Castings
After a few months, you’ll notice dark, crumbly compost—this is worm castings. To harvest:
- Push the contents of the bin to one side.
- Add fresh bedding and food to the empty side.
- Wait a few weeks for the worms to migrate, then collect the castings.
Tips for Success
- Start small: Avoid overloading your bin with waste initially.
- Avoid disturbances: Minimize handling of the worms.
- Observe: Watch for signs of stress, such as escaping worms or foul odors.
Conclusion
Starting a worm farm is a fantastic way to recycle organic waste and create compost for your plants. With a little care and attention, your worms will thrive, providing a sustainable solution for waste management. Ready to get started? Grab a bin, some worms, and begin your journey into vermicomposting today!