Worm castings, often called “black gold,” are one of the best organic fertilizers you can produce. Rich in nutrients and beneficial microbes, these castings are the end product of your worms’ hard work. Harvesting them at the right time and in the right way ensures you maximize their benefits without disrupting your worm farm.
Why Harvest Worm Castings?
Harvesting worm castings provides:
- Nutrient-Rich Compost: Ideal for plants, it boosts soil fertility and health.
- A Clean Habitat for Worms: Prevents the buildup of excess castings, which can harm worms over time.
When to Harvest Worm Castings
Signs It’s Time to Harvest:
- Color and Texture:
- The material in your bin has turned dark, crumbly, and soil-like.
- Volume of Castings:
- The majority of the bin contents appear to be worm castings, with little bedding or food remaining.
- Worm Behavior:
- Worms might start moving to areas with fresh bedding and food if the castings accumulate excessively.
General Timeline:
- On average, worm castings are ready to harvest every 2-3 months, depending on the size of your worm bin and the amount of food waste you add.
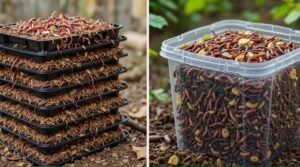
How to Harvest Worm Castings
There are several methods to harvest castings. Choose one based on your bin setup and preferences.
1. Divide and Conquer Method
This method works well for bins with multiple sections or trays.
Steps:
- Push the contents of the bin to one side.
- Add fresh bedding and food to the empty side.
- Wait 2-3 weeks for the worms to migrate to the new side.
- Remove the castings from the vacated section.
Pros:
- Minimal disruption to worms.
- Easy for beginners.
2. Light Method
Worms naturally avoid light, making this method effective for separating them from the castings.
Steps:
- Dump the contents of the bin onto a flat surface in small piles.
- Shine a bright light over the piles.
- Wait as worms burrow to escape the light.
- Gently scrape off the top layer of castings.
- Repeat until only worms remain.
Pros:
- Simple and low-cost.
- Great for smaller bins.
3. Screen or Sifting Method
Using a screen or sieve helps separate castings from larger particles and worms.
Steps:
- Place a screen or fine mesh over a container.
- Scoop small amounts of bin contents onto the screen.
- Shake gently, allowing the castings to fall through while worms and debris remain on top.
- Return worms and unprocessed material to the bin.
Pros:
- Produces fine, uniform castings.
- Efficient for larger setups.
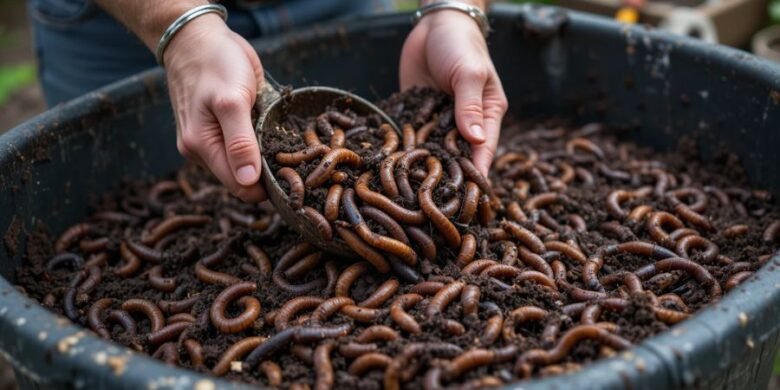
4. Hand Sorting Method
For smaller bins, manually separating worms from castings is an option.
Steps:
- Dump the bin contents onto a tarp.
- Pick out worms by hand and place them in a new bin with fresh bedding.
- Collect the remaining castings.
Pros:
- No additional tools required.
- Thorough, ensuring no worms are left behind.
Tips for Successful Harvesting
- Don’t Harvest Too Early: Ensure the material is fully processed; unprocessed bedding or food may disrupt plant growth.
- Handle Worms Gently: Minimize stress to the worms during harvesting.
- Use Castings Immediately or Store Properly:
- If not using immediately, store castings in an airtight container in a cool, dark place to retain their nutrient value.
FAQs
Can I use fresh worm castings directly on plants?
Yes! Worm castings can be applied directly to the soil or mixed with water to create a nutrient-rich liquid fertilizer (worm tea).
How do I avoid harvesting baby worms?
Methods like the divide and conquer technique or sifting are effective at separating baby worms. Be patient and thorough.
What if my castings are too wet?
Spread the castings on a flat surface to dry slightly before use. Ensure your bin has proper drainage to prevent overly wet castings in the future.
Conclusion
Harvesting worm castings is an essential part of vermicomposting and a rewarding step in your worm farming journey. By understanding when and how to harvest, you’ll ensure your worms remain healthy while producing top-quality compost for your plants. With practice, you’ll master the art of harvesting, turning your organic waste into valuable “black gold” time and time again.